How to Get Started Using Microsoft Whiteboard

Microsoft is constantly trying to innovate with its software, and Whiteboard is no exception. Whiteboard is a Microsoft app (check out these other Microsoft apps) that allows users to outline, plan, and collaborate to their heart’s content.
Along with providing a deceptively simple interface, Microsoft has found a way to fit as much functionality as it could into the Whiteboard experience. You can draw, type, and locate images directly within the app.
This article is designed to help you get started using Microsoft Whiteboard. And as it’s free you might as well give it a go…
Download Microsoft Whiteboard
To get started using Microsoft Whiteboard, click the Start menu in Windows 10, type Whiteboard, and select Microsoft Whiteboard. If Whiteboard isn’t already installed on your PC, you can download it from the Microsoft Store.
Download: Microsoft Whiteboard on Windows [Free].
User Interface
When it comes to drawing and sketching applications, a clever UI is key. Whiteboard provides just that—a white background canvas on which users can draw. The canvas grows automatically with your work, so drawing on the outskirts of your sketch will expand the canvas.
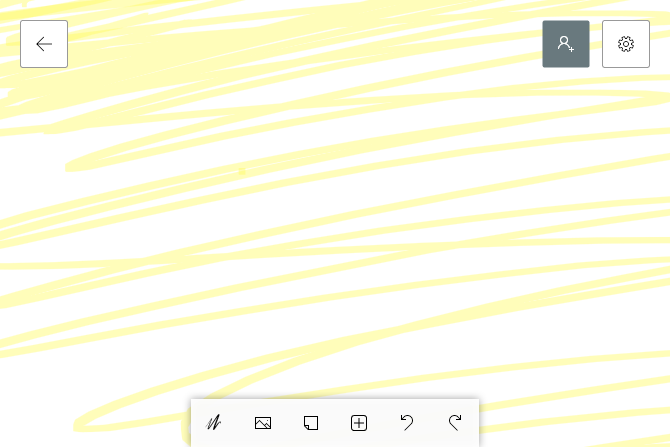
At the top of the window, you’ll see three icons. The one on the left allows you to select a different Whiteboard from the one you’re working on or create a new one.
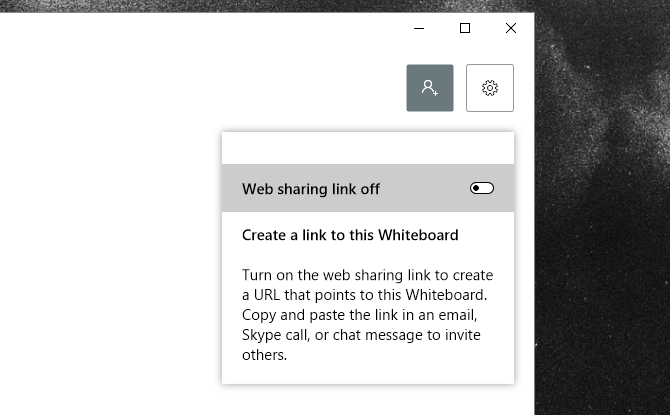
The gray icon to the right allows you to create a web link that you can share to collaborate with others in the same Whiteboard project. Please note that the Web sharing link off option depicted below must be enabled to create your link.
To the right of that is the Settings button, which will allow you to activate several features within Whiteboard.
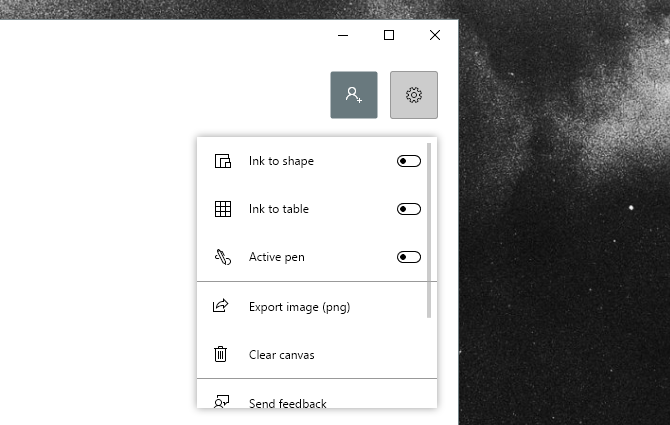
Those are the main options at your disposal.
Drawing Tools
Sketching app interfaces are typically 20 percent settings and 80 percent drawing tools. In Whiteboard, you can choose from one of two options to display your tools: passive and active pen. Passive pen is depicted above, and active pen is depicted below.
To switch to active pen, click on the Settings icon and activate the Active pen option.
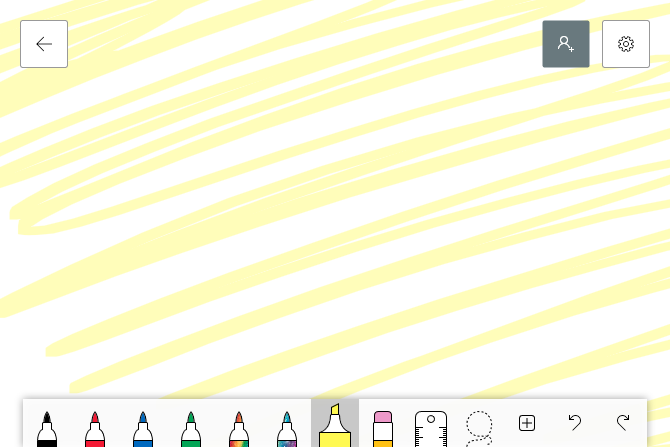
I will use the active pen feature to explain the rest of the tools and features, as it’s the easiest to use with graphics tablets.
The difference between passive and active pen is that active pen will allow you to move the artboard with your mouse and draw with your pen simultaneously.
The tools do exactly what you would expect: from left to right, you’re presented with a series of differently colored markers. There are currently no default methods to resize the tools or change their colors.
Click on your ruler to open the ruler tool. Use your mouse’s scroll wheel to change its angle, and sketch on the ruler to create a straight line in your canvas.
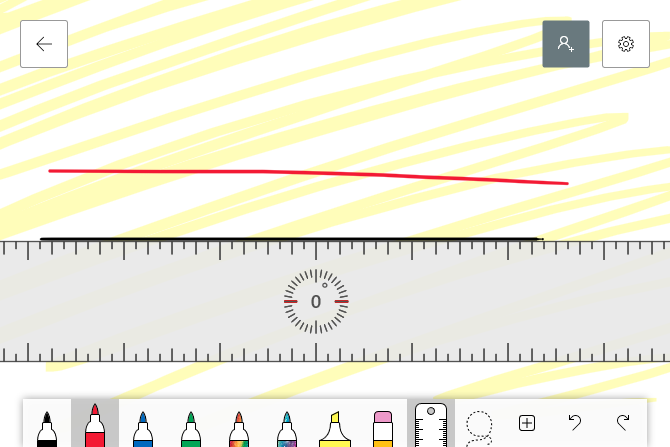
To remove the ruler, simply click on the ruler icon again to deactivate it.
Next to the ruler is the selection tool. Click on the selection tool and, with your pen tool, draw around the shapes, lines, or pictures you want to move or delete.
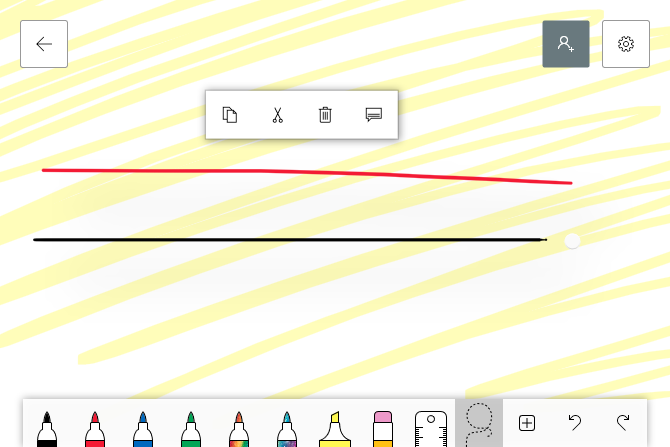
Your selected objects will jump up. Then, use the options presented or their respective keyboard commands to copy, cut, delete, or add a note to the object. Adding a note will place unseen, additional text to a sketch or image for later reference.
Image Placement
You aren’t limited to only pen tools. Click on the + icon to open your images and text options.
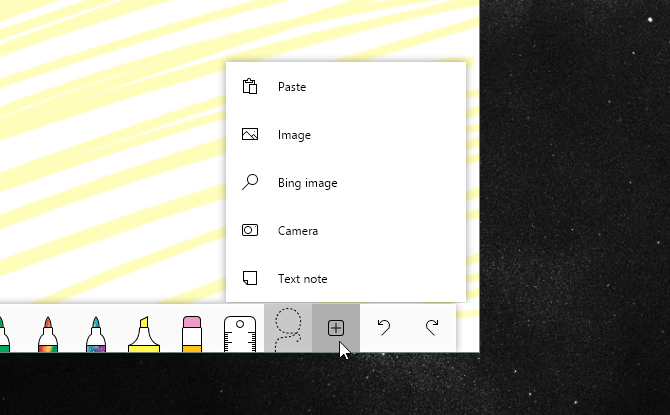
Select the Image option to place an image from your local files into the Whiteboard. The file will appear as a sleek, movable image.
Click on the image to view your options. Rescale and rotate your image by clicking and dragging the small white circle at the edge of your image.
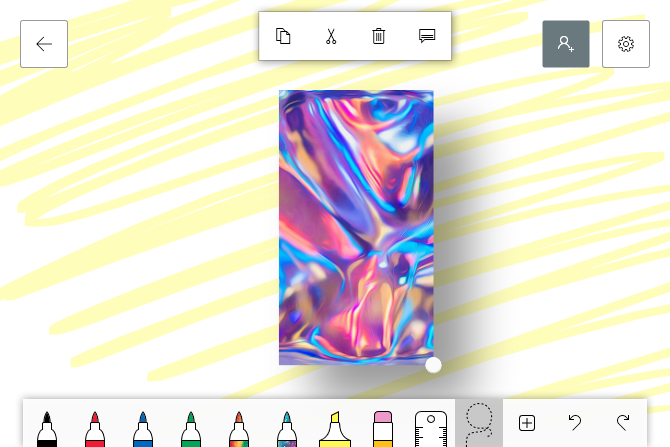
You can also sketch on the image as well.
If you don’t have reference images on your computer, you can use Whiteboard’s Bing image function. Bing image will open a search prompt that then pools images based on your search from Bing.
Image results will be limited by default, as the app limits your results to non-copyright images. To view all images, click the See all images option at the bottom of the prompt.
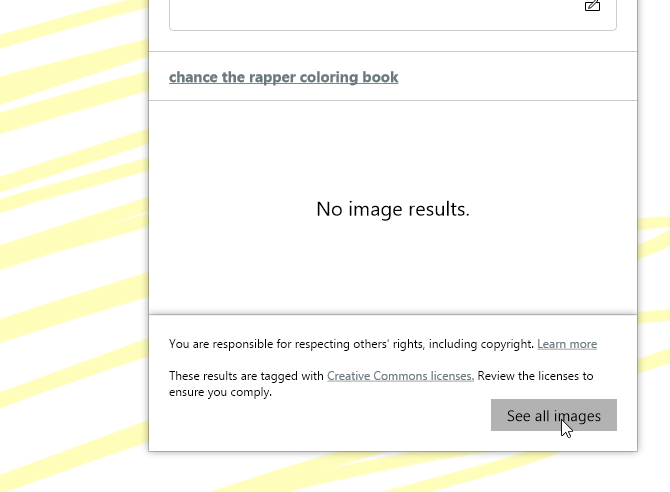
Choose your image and click on the + overlay button to add it to your Whiteboard. Once the image is placed on your Whiteboard, you can adjust it as you would local images.

Whiteboard also allows you to stack images. To create an image stack, simply drag one image onto another until you see a circular stack icon.

Once your images are stacked, you can cycle through them using your mouse’s scroll wheel.
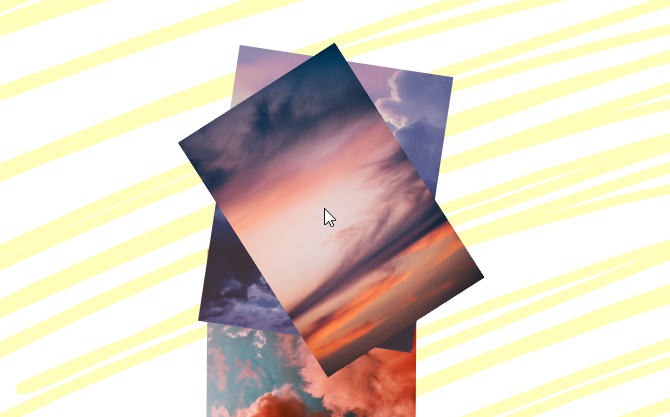
Have you added a wrong image to the pile? Simply double-click the stack to disperse the images or drag a particular image away to remove it.
Text and Note-Taking
Don’t want to rely on your handwriting for notes? Click on the + icon again and select Text note. A sticky note will appear, resembling Windows 10’s sticky notes app. Orient your note as you would an image, and double-click the note to begin typing.

You can also change the color of the note while typing by clicking the 3-dot icon on the bottom of the note and selecting your color.
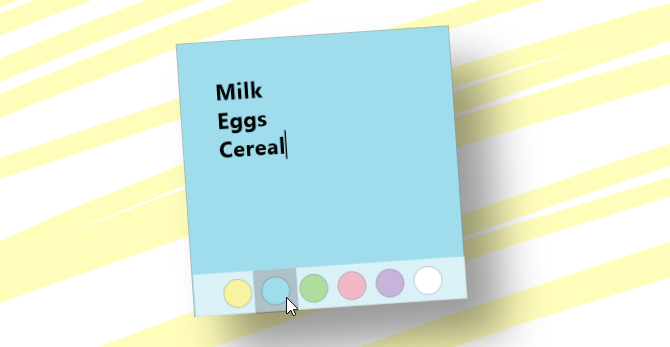
While you can’t change the font weight and family, the text will adjust in size when you resize the note. Crave the feel handwritten feel of an actual note? Just draw on the note as you would on the canvas.

The note will then retain whatever you’ve drawn onto it, just like a real sticky note.
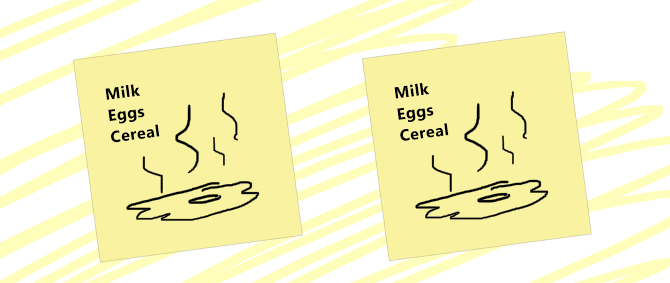
Remember image stacking?

That works with Whiteboard’s sticky notes as well.
Ink Features
To allow you to utilize the touchscreen aspect of Whiteboard fully, Microsoft has included Ink features which ease the drawing process. First, open your Whiteboard settings and enable Ink to shape.
Ink to shape automatically creates shapes from rough sketches. Simply sketch the shape and Whiteboard will automatically create the shape for you.
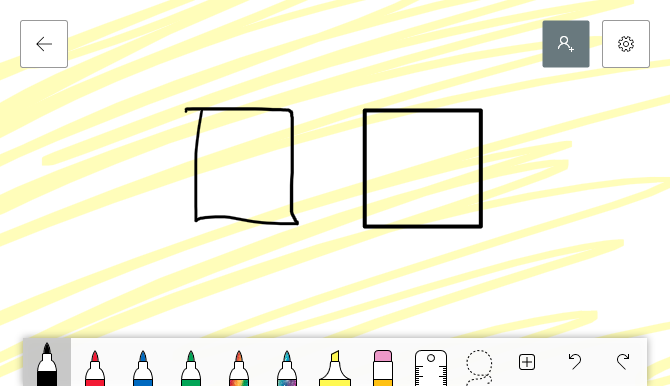
You can even include a table to organize your Whiteboard or house data as well. Open your settings and activate Ink to table. This option will automatically enable Ink to shape as well.
Draw a rectangle, and then draw a line in the middle of the shape. This will activate the table, which you can then add rows and columns to with the following popup buttons.
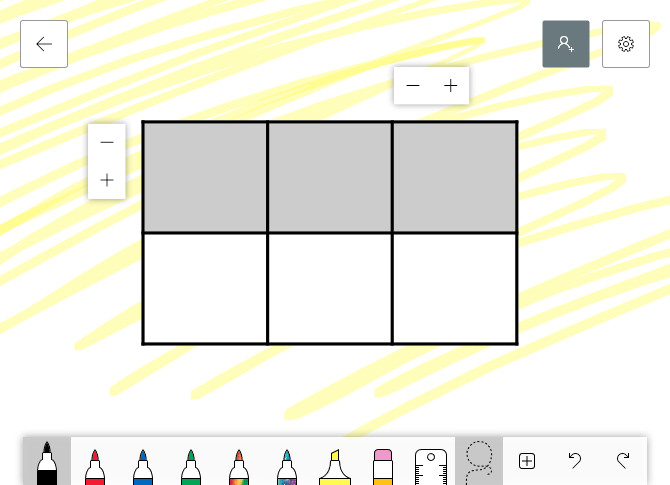
Fill the squares out as you see fit. If you need to delete a row or table, select the table again and the buttons will reappear.
The possibilities of this type of technology are endless, even allowing users to draw formulas that Whiteboard automatically plots on a graph. Unfortunately, this is a feature I haven’t been able to replicate, implying that certain software issues may still persist in the app.
Saving Your Whiteboard
You have a few convenient options to save your Whiteboard. For one, all whiteboards are stored on your Microsoft account when you first log into the app or link your account to your Windows PC.
That means you don’t have to save your whiteboard, as it’s automatically backed up by your account. You can, however, save a PNG image (when to use which file format) of your whiteboard for later use.
Open your settings and select the Export image (png) option. Below is a quick example of whiteboard’s capabilities, used to plan a graphic design.
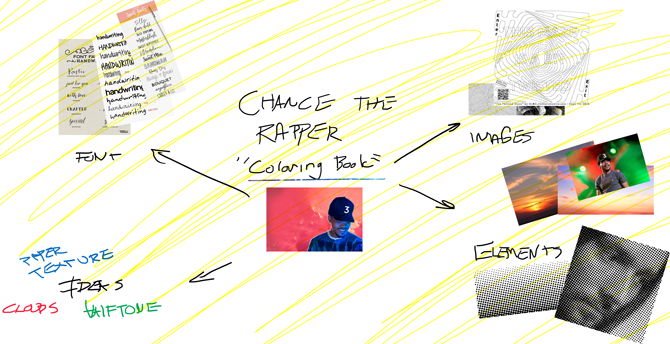
The more time you take to create your board, the neater it will be.
Below is the final design example, using the ideas displayed above. Microsoft Whiteboard really is that easy to use.

There’s No Dry Erasing This Whiteboard
Microsoft is constantly trying to create quality, default programs for users. Although Whiteboard is primarily aimed at teaching… planning and collaborating are more than possible using the software.
Considering this feature-packed desktop application is free, there’s absolutely no reason not to try Microsoft Whiteboard today! Looking for something a little more professional? Then give the free drawing app Sketchbook a try instead.
Read the full article: How to Get Started Using Microsoft Whiteboard


